Basic Compositing Layers Explained
Stop Guessing Which Operation To Use
A common misconception when working in 3D is that your render is your final product. The reality is that every single 3D image I’ve created has had some post-render compositing work added in.
Why? Because compositing can give you two major benefits:
You can make aesthetic tweaks faster and more easily like minor color tweaks and cleaning up any rendering artifacts.
There are components that you can add in the compositing process that are not available to you in the rendering process. These could be as simple as light wraps and edge blur but can expand to fully integrated 2.5D projections to add elements not in the original render.
So it is important to remember that your renders are not your final image. They are merely a step in the process toward your final product. And the biggest part of that compositing process…Layering multiple together.
Layering Issues
Has this ever been you? Blindly flipping through each layer operation to try and figure out what looks the best while having no idea what each one actually does?
I know the answer is yes because we’ve all done it. But why are we cool with doing this? We would never let this fly in any other part of our life. Imagine if every time you drove you just shifted the car into a random gears to see if that’s what made it go forward.
Let’s end the practice of blindly cycling through layer operations today by covering a few of the basic layering methods to get you rolling.
The Most Common Layering Method…the “Over”
Compositing is fundamentally a technique for layering individual visual elements into a final, cohesive image. This methodology traces back to the early days of animation and the common practice then known as Cel Animation. In this process, the different components of an image were drawn on separate sheets of clear film or "cels." The background would be depicted on one cel, while characters and movable elements were laid out on others. The cels were then stacked and aligned to compose the finished scene. This allowed animators to save time, as a single background image could be reused across multiple frames, with only the movable elements needing to be redrawn. Additionally, physically layering cels added depth and complexity to the final composite shot. Thus, the compositing technique was both an efficient workaround given the limitations of early animation and a way to lend greater visual impact to the image. Modern digital compositing works on similar principles, programmatically layering visual components into an integrated whole.
The most basic layering concept in digital compositing is exactly the same as Cel Animation. Just take one image and put it over another. In digital compositing, this is done by using an “over” or “normal” layering operation. The “over” operation is probably used more than any other layering node
Plus, Add, Linear Dodge, Minus, Subtract, etc…
The "plus", “linear dodge”, or “add” operation merges images by adding the RGB values of corresponding pixels. For example:
Image 1 has a red channel value of 0.50
Image 2 has a red channel value of 0.25
The resulting image will have a red value of 0.75 (0.25 + 0.50)
This is done for each color channel.
When that same blue square is merged using the plus operation with the same red square, the result is magenta. A less obvious combination is when red combines with green, as in the example. The resulting image is yellow which seems bonkers. If red and green paint were combined, the result would definitely not be yellow. This is because the way light combines is very different than physical colors in the real world.
So it is important for artists to fully analyze the mathematical implications when considering color combinations. Conversly, you have the “minus” or “subtract” operation reduce pixel value.
The "minus" or "subtract" operations reduce pixel values instead of increasing them.
A production example of using the plus operation is combining different light passes. Say the artist decides to render each light separately and combine them in the comp to have greater control. These rendered elements should not be combined by using the over operation because that will give a false result. Instead, the artist will use the plus operation to add all these different light passes together to simulate the additive nature of adding light to a scene.


Multiply/Screen
“Multiply” is another mathematical operation similar to “plus.” Instead of adding values, the “multiply” operation will multiply the channels together to create the resulting image. Take the same example as before. Instead of the resulting image being yellow, it is actually black. This is because of the idea that if any number is multiplied by 0 the resulting number is 0.
In that way, the multiply operation is a bit counterintuitive. Normally multiplying numbers increases their values. But in computer graphics, multiplying will normally darken the image since RGB values normally range from 0 to 1 and multiplying a number by less than one will actually decrease its value.
Another element to be aware of is that the multiply operation will not adjust each pixel linearlly. Imagine you have two pixels. One with a value of 1 and the other with a value of 0.5. If you multiply each pixel by another image with a 0.5 value it will bring the 1 down to 0.5 but the 0.5 will only be decreased by 0.25. Meaning that offset for higher pixel values will be impacted more greatly than the darker tones.
A common use of this operation is when dealing with shadow and ambient occlusion passes.
Both shadow and ambient occlusion passes are mostly white with the areas being affected as darker. When these images are multiplied into the original image, the resulting image is properly darkened in the shadowed areas and left at their original values in the white regions.


“Screen” works in a way that is the inverse of “multiply”. Unlike “multiply”, which generally darkens an image, “screen” merges will brighten the image. “Screen” gets it’s name from a real world lighting phenomenon. This phenomenon is simulating the effect of combining two separate slide images on one screen and seeing the resulting image.
The major benefit of using the screen is that it will raise the midtones of the image without effecting the dark areas or pushing the bright areas beyond a value of 1. One example of using the screen operation in a production environment is to create a pass to add some additional reflections to an object. If the artist uses the plus operation, the added specular values could combine with the original image that would leave areas too bright.
There are other layering methods that cam be used but the ones described here are the ones I use 95% of the time. Ultimately the artist just needs to be aware that each merge function has a different mathematical or logical basis for the operation and, by understanding those facets, the artist can have more control of the final image without all that fiddling.
3D News of the Week
3D Human Models From A Single Image - Hackday
Scientists 3D print a robotic hand with human-like bones and tendons - Arstechnica
Check out 3DCoat’s new Live Booleans system - CG Channel
Rich Bundle of Unreal Engine and Unity Assets for Artists - 80.lv
Custom Topology Head | Metapipe 2 | Iphone Test - YouTube
3D Merch is here!
Click here to Get Your 3D Artist Swag!
Artist of the Week
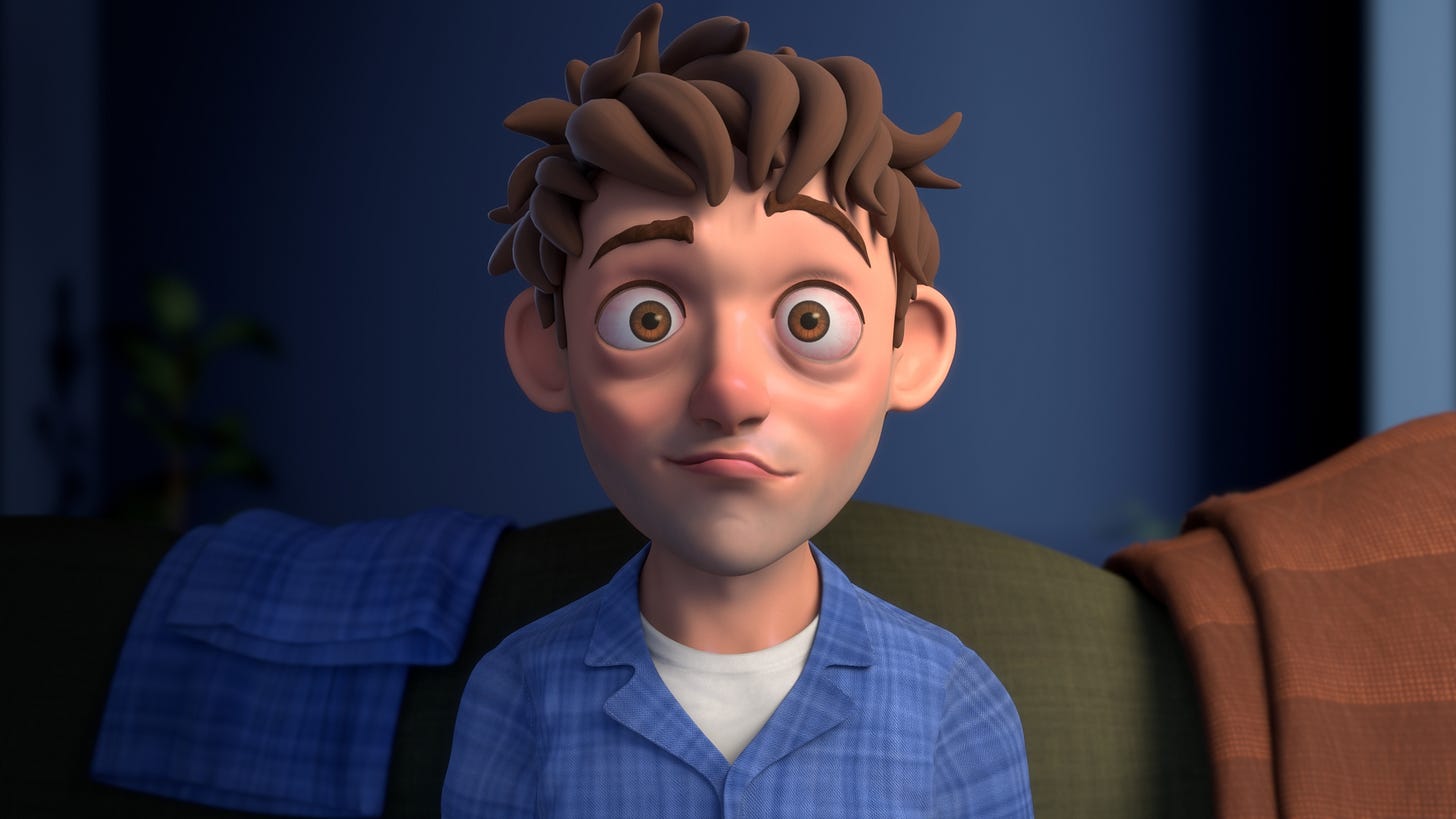
3D by Aleksandr Ladosha, Concept by Nitro
I love the stylized nature of this character design and execution. You get so used to seeing the same type of bruting character that I love this unique clay-like style.
3D Tutorials
3D Job Spreadsheet
Link to Google Doc With A TON of Jobs in Animation (not operated by me)
Hello! Michael Tanzillo here. I am the Head of Technical Artists with the Substance 3D Growth team at Adobe. Previously, I was a Senior Artist on animated films at Blue Sky Studios/Disney with credits including three Ice Age movies, two Rios, Peanuts, Ferdinand, Spies in Disguise, and Epic.
In addition to his work as an artist, I am the Co-Author of the book Lighting for Animation: The Visual Art of Storytelling and the Co-Founder of The Academy of Animated Art, an online school that has helped hundreds of artists around the world begin careers in Animation, Visual Effects, and Digital Imaging. I also created The3DArtist.Community and this newsletter.
www.michaeltanzillo.com
Free 3D Tutorials on the Michael Tanzillo YouTube Channel
Thanks for reading The 3D Artist! Subscribe for free to receive new posts and support my work. All views and opinions are my own!


